Anuschka’s
Blog
Photographer in Adelaide, South Australia

What Happens With The Images After The Shoot
It’s not uncommon for clients to express confusion about the image editing process or the work that goes into a shoot after the camera clicks. I completely understand this perspective, as I once believed that a skilled photographer simply needed to press the shutter button to capture a great image.
However, the reality is far more complex. After the shoot, the real work usually begins because photography is not just about taking pictures; it involves a multitude of steps that contribute to the final product.
To clarify, the journey of a photograph doesn’t end when the shutter closes.
By sharing this insight, I hope to demystify the process and help clients appreciate the artistry and effort that goes into each image they receive.
Step 1 After A Shoot
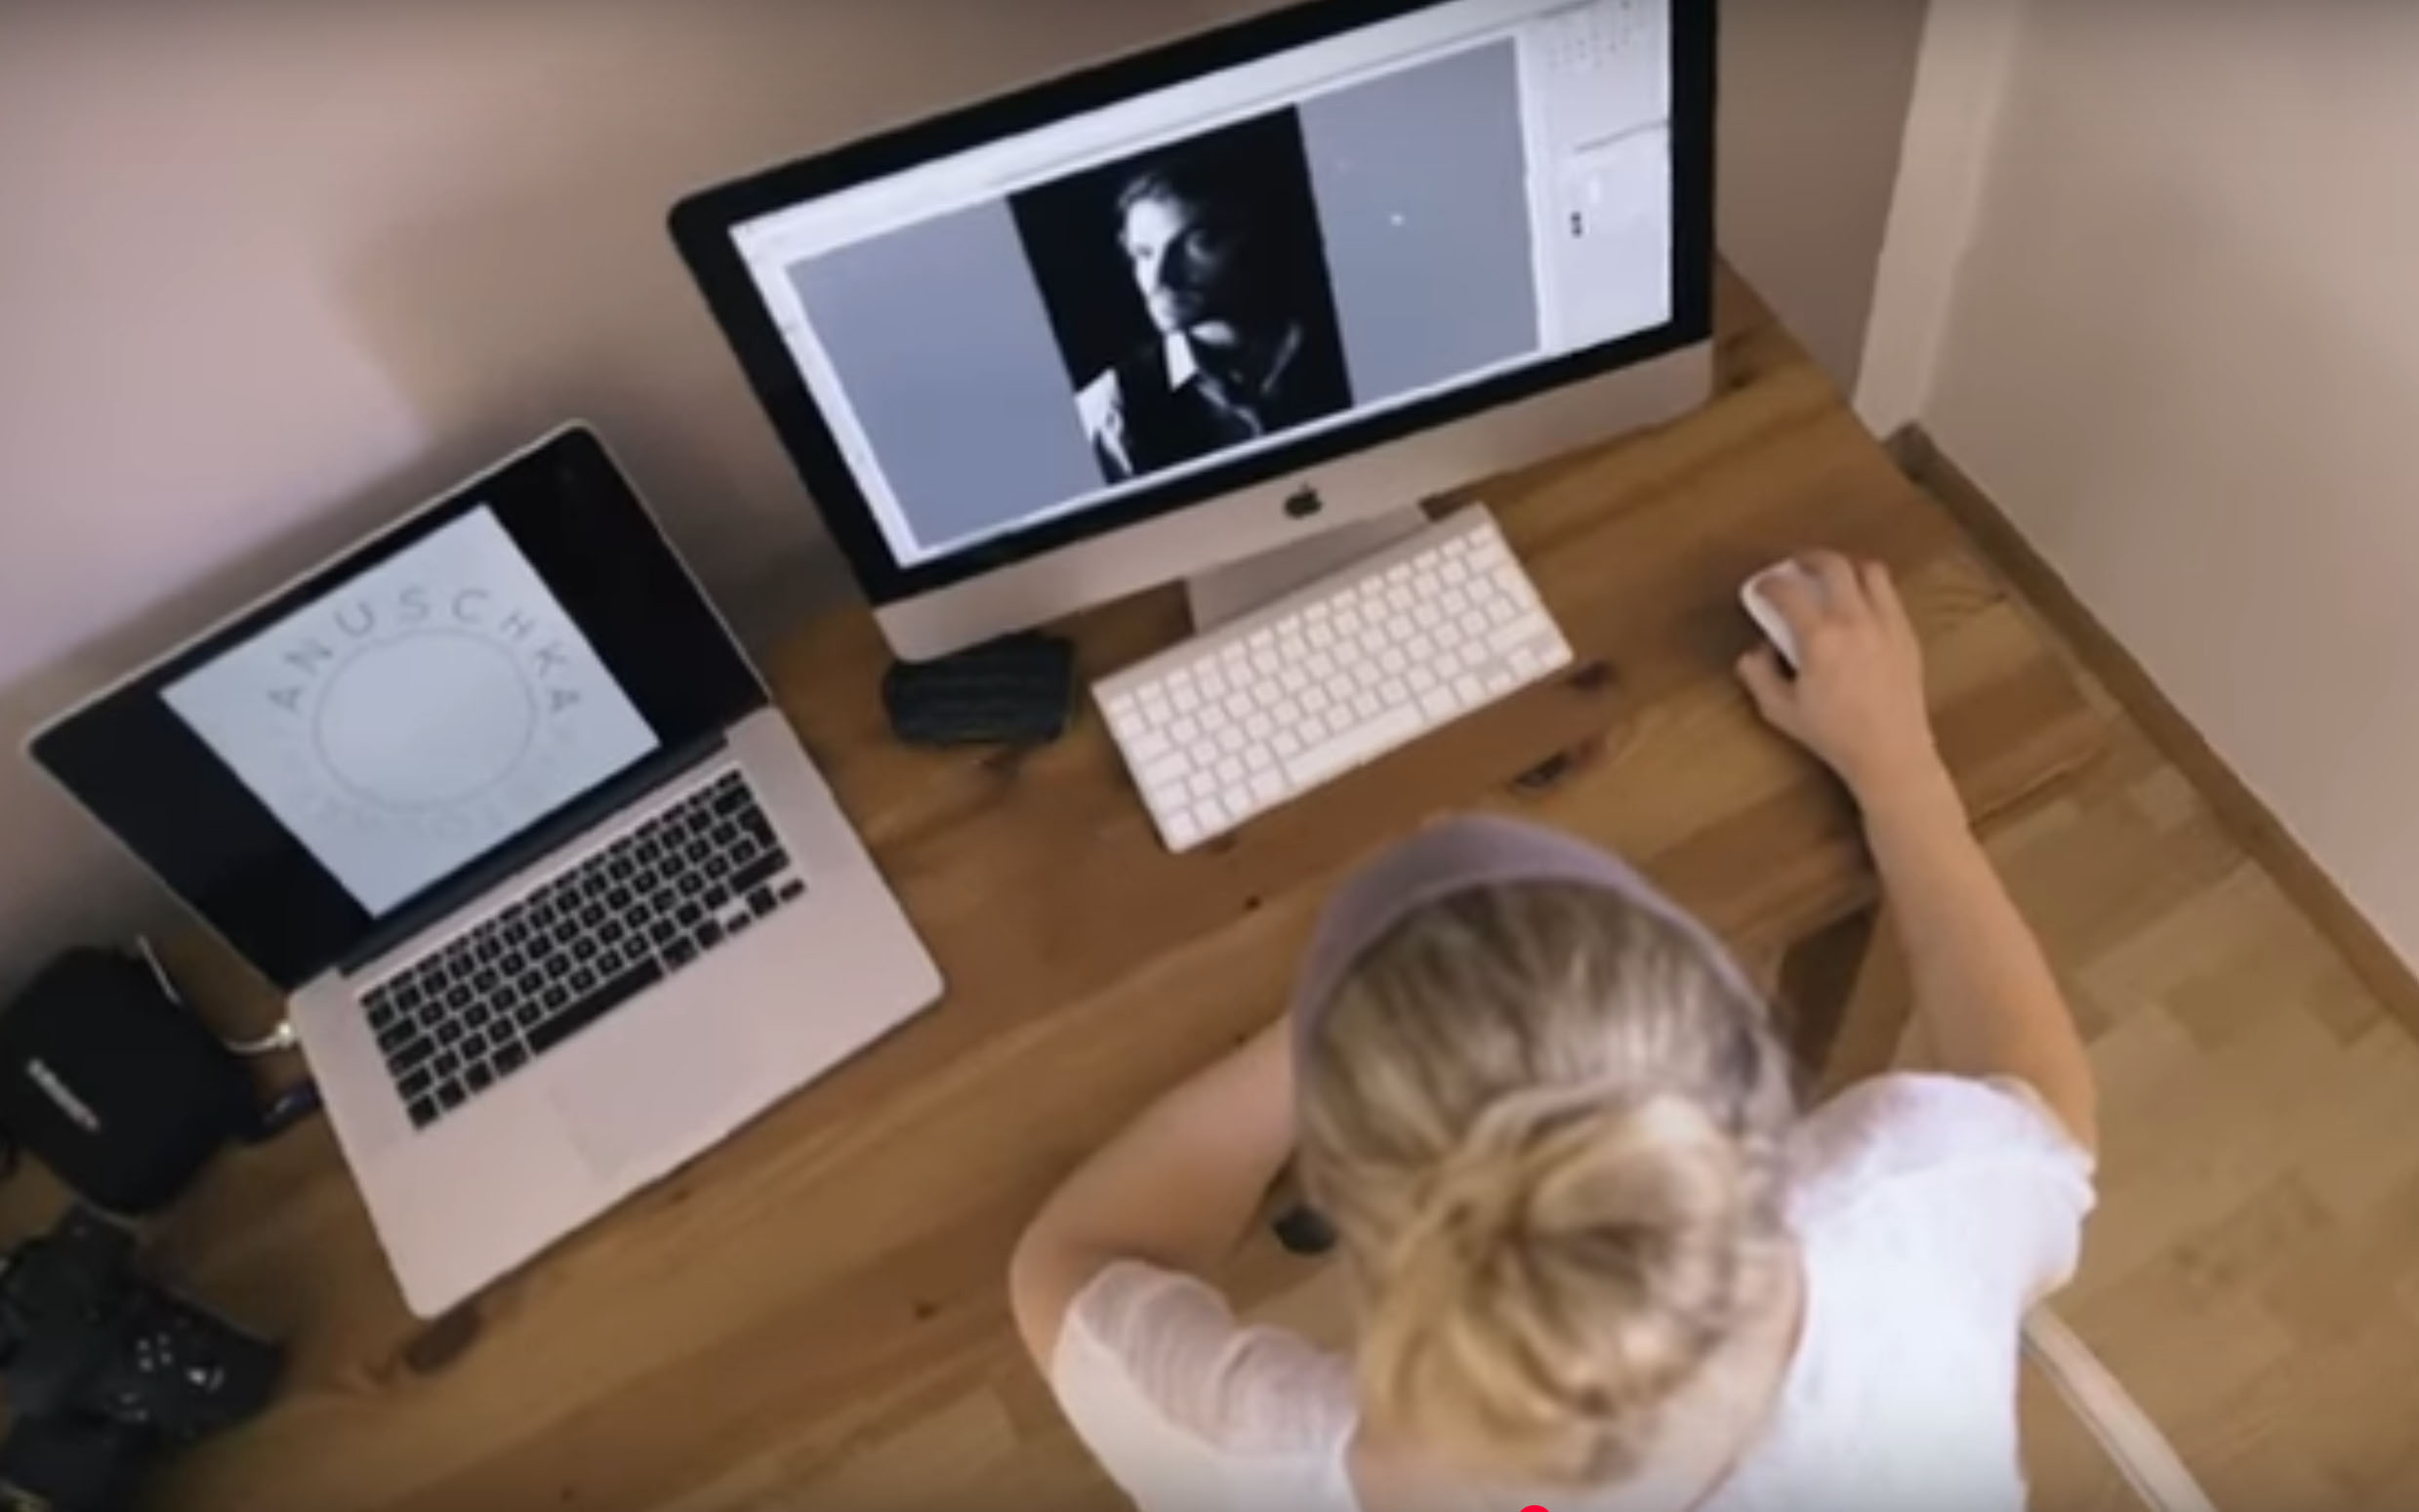
First step of post-image production are transfering and securing all RAW files to my PC without making any selections beforehand. Only then does the selection process begin. To be honest this process can be quite daunting sometimes, especially after a long photo shoot with more than 500 images. I’ll go through them, image by image.
During the sorting phase, images where people have their eyes closed, where someone walks into the frame and is not support to be there, or where the lighting is off are typically set aside or even deleted. Additionally, any shots that lack focus or don’t quite capture the intended moment are also filtered out, ensuring that only the best images are selected for presentation.
Step 2 After A Shoot
The second step of post-image production focuses on refining various elements of the image to enhance its overall quality. This process includes fine-tuning highlights and shadows to create a balanced exposure, adjusting contrasts to add depth and dimension, and modifying colours to ensure they are vibrant and true to life. Additionally, achieving the correct white balance is crucial, as it helps to eliminate any unwanted colour casts. Cropping is another important aspect of this step, as it allows for the removal of distracting elements from the frame.
Step 3 After A Shoot
The third step of post-image production involves eliminating any distracting elements that could detract from the overall visual appeal of the photo. This includes removing lint or small wrinkles from clothing, as well as any unwanted distractions that may have crept into the frame.
Additionally, this step involves skin retouching, which addresses smaller blemishes, like pimples, dark circles under the eyes, redness and flaking skin.
Moreover, my favourite part, this stage is not just about correction; it’s also an opportunity to infuse some creative flair into the images.
Step 4 After A Shoot
After completing steps 1-4, I like to take a break. While I usually aim to finish the editing in one session, I make it a point to step away before exporting the photos. This pause is crucial for allowing my eyes to rest and for me to return to the images with a fresh outlook. During this time, I engage in activities unrelated to photography, whether it’s taking a stroll with my partner in the park, cooking dinner, or making phone calls—anything that helps me clear my mind.
Once I’ve taken that break, I come back to my photos with a renewed perspective. This fresh look often reveals areas that might need minor tweaks, like an over-edited section or something that could use more emphasis. It also gives me the chance to reconsider the composition of the images, ensuring that everything aligns with my vision before finalizing them.
I adjust a photo until it feels perfect, a process that can take me up to 30 minutes (sometimes even longer) for each image.
Step 5 After A Shoot
When it comes to your data, I want to assure you that the images you choose are carefully archived for at least one year in case you wish to reorder additional images at a later date, while the unedited raw files are kept for a period of at least six months. I prioritize the confidentiality of your data and handle all client information with care and respect.
However, please be aware that any images you do not select or unedited (raw data) images will remain with me, the photographer, and will not be made available to you.
Conclution
You may be asking yourself why photo editing is even necessary. After all, you’re using a high-end camera paired with top-notch equipment, which should theoretically yield perfect images right out of the box. While it’s true that my camera and I collaborate effectively to capture beautiful shots, the reality is that those images aren’t truly complete until I dedicate some time to refining them. Each step in this process is crucial, as it transforms a good photograph into a great one.
The synergy between my creative vision, the camera that captures the moment, and the computer that finalizes the image is essential.
Each component plays a vital role in the photographic journey, and they complement one another seamlessly. My mind is where the initial concept takes shape, the camera is responsible for bringing that vision to life, and the editing software is what polishes the final product.
Without any one of these elements, the process would be incomplete, underscoring the importance of investing time in post-production to achieve the best possible results.
Contact
